How to Shape a Bagel – Part II

The first thing I baked in my new oven was bagels so I thought it would be good to update this post on how to shape a bagel. It’s quick and easy and it has them ready to go in the water bath in no time. I usually make a double batch but this time as I am trying to learn my new range I only make a single batch.
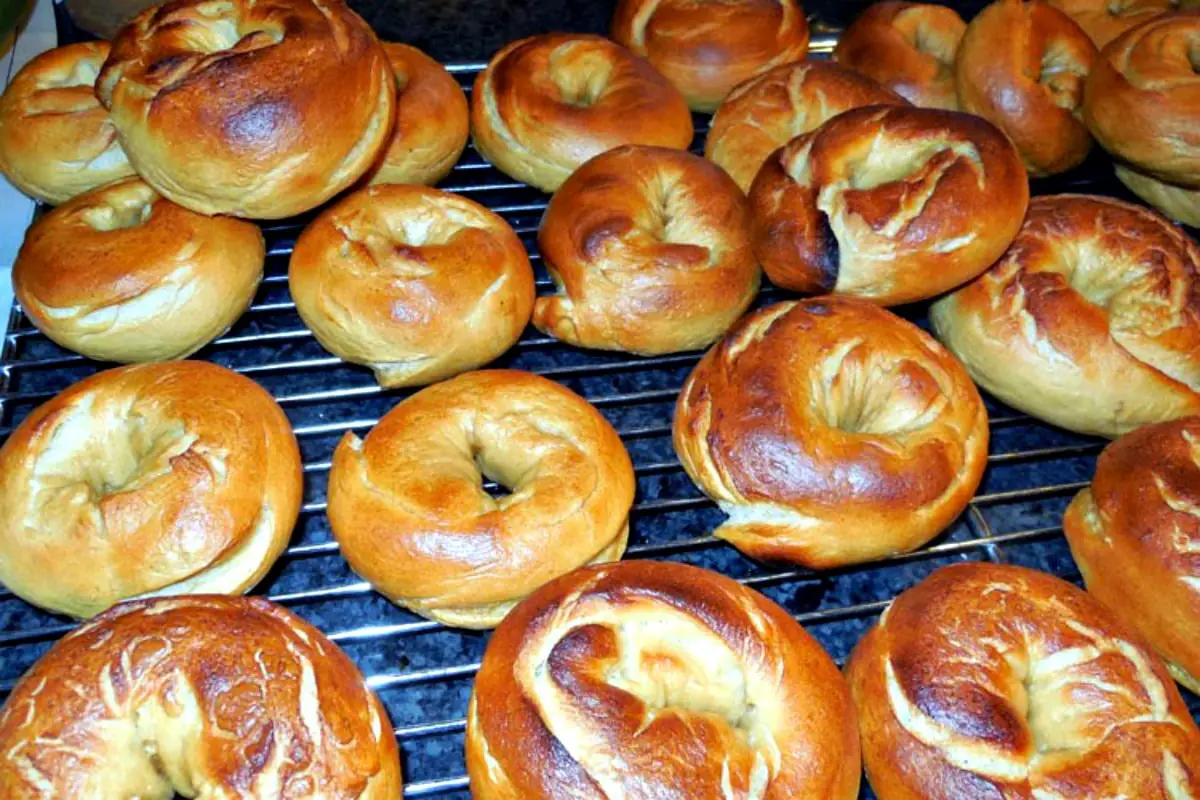
I am happy to report all went well and I baked up a lovely batch of bagels.
Any purchase links are affiliate links. If you make a purchase I receive a small commission (at no additional charge to you)
Note: This post may contain affiliate links, which means if you buy from my link I might make a small commission. This does not affect the price you pay. See the full affiliate disclosure here.
I’ve written before of my love of bagels and how I make them quite regularly so I always have some to eat when I want one. I have my favorite Bagel Recipe posted if you want to see how I make them.
Shaping them was always the tricky part as sometimes they would come unsealed and I would have wonky looking bagels. I really didn’t care as they still tasted good. And I could always claim I made bagel sticks. Hahaha
Thanks to an article I read in a newspaper I now have a new way to shape bagels and they come out looking much neater. (If you want to see the original way I was shaping them go HERE)
My former method involved rolling the dough into a strip and then turning the strip into a round. It made bagels that looked like this when they were baked:

…you can see that some edges are not perfectly clean and stick up at the side. This is where they came apart either while boiling or baking.
The new method is totally different.
Watch:
If you cannot see the video you can watch it on YouTube HERE
The first time I made them this way it did take me a little bit longer but now I just fly as I make them. I used to use the back side of a fondue fork to poke through the middle. Now I just use my finger.
Hey, whatever works, right?

First shape the dough into the rounds. I will admit that I now weigh each dough ball to make sure each bagel will be the same size. Then I poke the holes through the center with my index finger and widen them.

I line them up on the baking sheets for boiling.

They do grow a bit after their bath.

And as you can see these do look a lot better after they have been baked. Much neater. I’m just thrilled to have found this method. The bagels now look as good as they taste.
If you are interested in trying here just click HERE for my bagel recipe.


