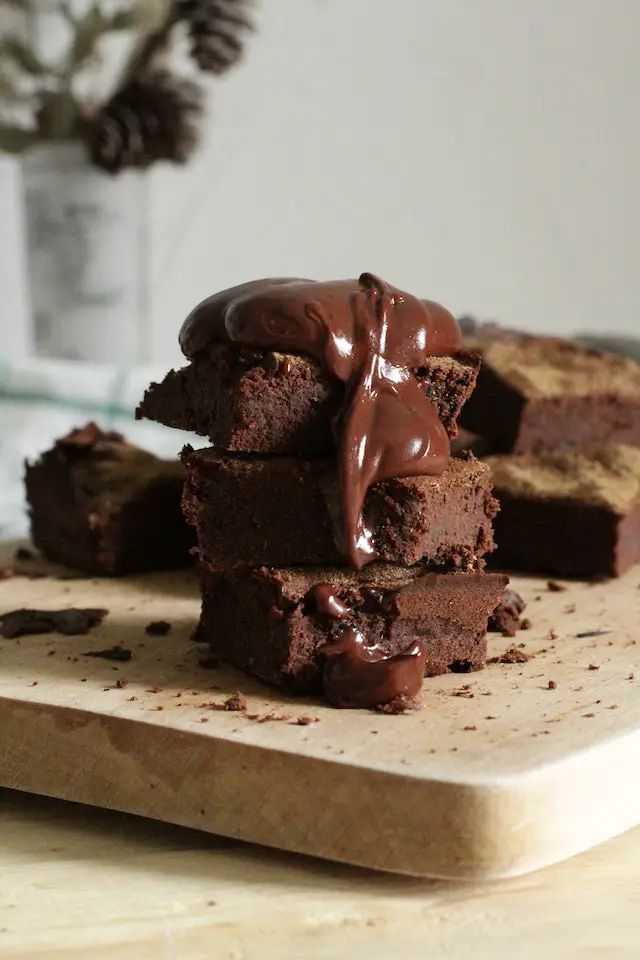
Homemade Pilgrim Hat Cookies

With Thanksgiving coming quickly I wanted to share these super cute, homemade Pilgrim Hat Cookies. Not only are they easy to make but they make a great little treat for your family this coming holiday season. Below you will find a complete recipe with instructions for you to print and try out yourself. What I love most about these cute little hats is that they are easy to make.

They look so cute laying on the table ready to be gobbled down by your family and friends.

Pilgrim Hat Cookies Directions (One Step at a time)
Note: This post may contain affiliate links, which means if you buy from my link I might make a small commission. This does not affect the price you pay. See the full affiliate disclosure here.
The very first thing you will want to do is Preheat oven to 375 and line a baking sheet with parchment paper. Set this aside. Beat butter until creamy and add 1 cup white sugar and brown sugar. Beat until blended. Add eggs and vanilla and beat until combined.


In a separate bowl, combine flour, cocoa powder, and baking soda. Pour dry ingredients into butter mixture and mix until combined.

Add peanut butter and mix until incorporated. Use a cookie scoop or tablespoon to scoop out dough and roll into balls. Roll each ball in remaining ¼ cup sugar until completely coated. Place on lined cookie sheet and bake for 8 minutes.

After removing cookies from oven, immediately press a mini peanut butter cup into each cookie. Let cool completely.

Combine yellow food coloring and premade vanilla icing until desired color is reached. Fill a piping bag or sandwich bag with icing and pipe a circle around each candy topping. Top each cookie with a yellow mini chocolate candy.

Pilgrim Hat Cookies
Yields: 36 cookies
Ingredients
Ingredients:
- 1 cup butter, softened
- 1 ½ cups sugar, divided
- 1 cup brown sugar
- 2 eggs
- 2 teaspoons vanilla
- 2 ¼ cup flour
- ¾ cup cocoa powder
- 1 teaspoon baking soda
- ½ cup peanut butter
- 36 mini peanut butter cups
- 36 yellow mini chocolate candies
- Premade vanilla icing
- Yellow food coloring
Instructions
- Preheat oven to 375 and line a baking sheet with parchment paper. Set aside.
- Beat butter until creamy and add 1 cup white sugar and brown sugar. Beat until blended.
- Add eggs and vanilla and beat until combined.
- In a separate bowl, combine flour, cocoa powder, and baking soda.
- Pour dry ingredients into butter mixture and mix until combined.
- Add peanut butter and mix until incorporated.
- Use a cookie scoop or tablespoon to scoop out dough and roll into balls.
- Roll each ball in remaining ¼ cup sugar until completely coated.
- Place on lined cookie sheet and bake for 8 minutes.
- After removing cookies from oven, immediately press a mini peanut butter cup into each cookie.
- Let cool completely.
- Combine yellow food coloring and premade vanilla icing until desired color is reached.
- Fill a piping bag or sandwich bag with icing and pipe a circle around each candy topping.
- Top each cookie with a yellow mini chocolate candy.