How to Make a Centerpiece Arrangement with Faux Flowers

Floral Centerpiece Arrangements
You can use floral centerpiece arrangements for so many things! And using faux flowers ensures that you can use them for a long time. In this step-by-step tutorial, I’m going to show you how I create sola wood flower centerpiece arrangements. You can use any fake flowers you want to with this tutorial.
Note: This post may contain affiliate links, which means if you buy from my link I might make a small commission. This does not affect the price you pay. See the full affiliate disclosure here.

Use your floral centerpiece arrangements for whatever you’d like. Popular uses include:
- Wedding table decorations
- Kitchen table centerpieces
- Baby shower decorations
- Holiday centerpieces
- Gifts
You can even make and sell these centerpiece arrangements. Use your creativity to make an arrangement you love!
Supply List for a Faux Flower Centerpiece
Here is what you will need for your arrangements:
- Container or vase
- Sola wood or faux flowers
- Greenery and floral fillers (you can also use garlands and floral picks)
- 18 gauge floral wire
- Wire cutters
- Hot glue gun
- Hot glue or a glue rope
- Foam for faux flowers
If the flowers you are using already have wire stems, you may not need the floral wire. I like to use the wire on my sola wood flowers and with some of my greenery so it’s good to have on hand. Since I do a lot of arrangements, I fill my containers with canned foam and had some left over for this tutorial.
How to Make a Floral Centerpiece Arrangement: In 4 Easy Steps
Here are the steps to make your own centerpiece arrangement with faux flowers.
Step One: Choose Your Centerpiece Container and Flowers
This is one of the most fun steps. Choose your container and what flowers and filler you want to use in your arrangement. Pick your favorite flowers or start with a color scheme and see what flowers and fillers you find to match.
I like to start with a color scheme, then pick my flowers, then find greenery and filler that complement the arrangement. I use sola wood flowers for my faux arrangements and dye them myself so that I get to choose the exact colors I want. I then shop for greenery and filler at my local craft stores and online.
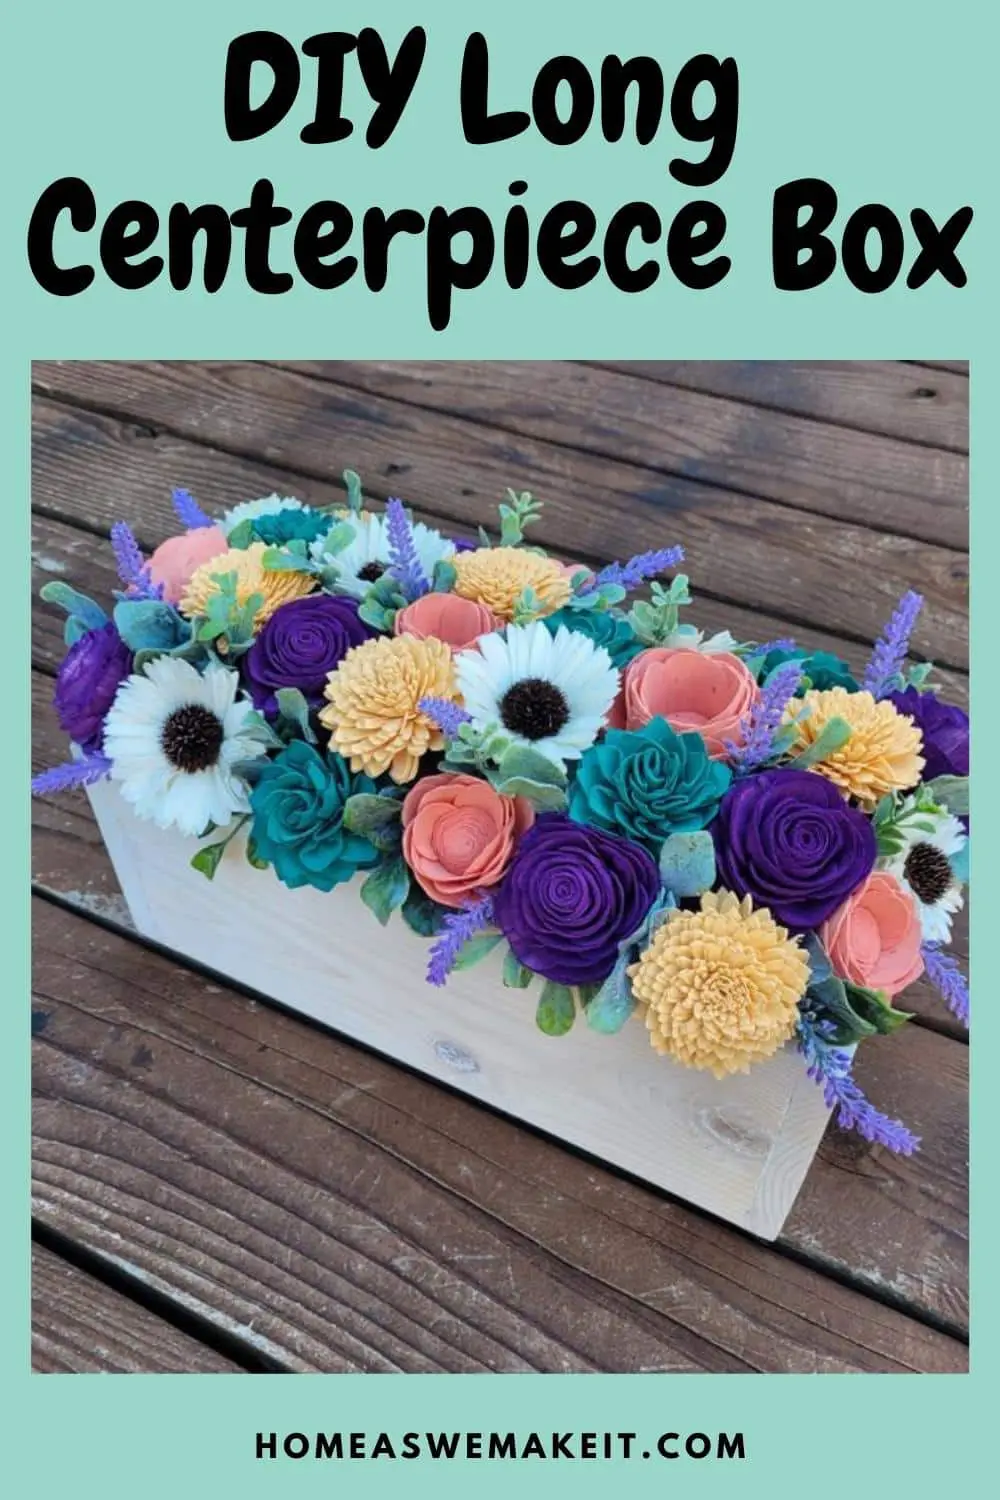
For this tutorial I used sola wood flowers, a box that I made using this tutorial, and faux eucalyptus like this.

Step Two: Stem Your Flowers and Filler
Your faux flowers may already have workable stems and you can just leave those as-is. However, if you are using flowers that don’t have bendable wire stems, you’ll want to add them. For sola wood flowers, you can take your 18 gauge wire stem and shove it through the back of your flower. I like to add a drop of hot glue to really hold it in place. You can follow the same process with faux flowers.
You don’t necessarily need to wire your greenery and filler. Find what works best for you by trying both ways. Sometimes I like to stem my greenery and filler if I need it to stay tall in the arrangement or sit a certain way. If not, I leave it stemless and just place it in between my flowers.
I love using garlands for my greenery. As you can see here, I deconstructed a garland by pulling off the individual pieces. Then, I took it apart even more by cutting off individual stems. This is more cost effective than always buying picks and smaller greenery.


Step Three: Fill Your Container With Foam
Make sure you purchase foam that is for faux flowers and not real flowers. The foam for real flowers can be crumbly and isn’t suited for this type of arrangement. I use a lot of foam and buy spray foam to fill my containers. For this project, I used scrap pieces of foam and glued them inside my box.
When you purchase your foam, try to find a piece close to your container size. You can always cut off parts to make it fit.

Step Four: Arrange Your Flowers and Fillers
You can really tackle the arranging portion any way you’d like. For box centerpieces, I follow the same process for most of my arrangements.
First, find a flower to start with and place it in the middle of one of the sides of your container. Angle it outward instead of letting it face straight upward. This makes your arrangement look good from all angles and showcases each flower.
Fill in greenery as you go along the bottom to help cover any bare area. I put a piece of greenery between each flower to create fulness.
Continue placing flowers and greenery in the same way all along the bottom of your container. You’ll soon have the first row completed and be left with a bare middle.
Start your second row by placing a flower above and between two bottom flowers (making a triangle shape from the three flowers). You should slightly angle this one outward and upward in a circular shape from the other two flowers. Continue filling in flowers this way throughout the second row all the way around your container. I wait to add any more greenery or fillers until I have all of my flowers placed.
Repeat this step until you are left with only the bare middle of your container. Place your last flowers pointing straight up so that when you look down at the arrangement, you are looking at the top of your flowers. Then, fill any gaps in the flowers with greenery and/or filler.


Faux Flower Centerpieces
Be creative and see what arrangements you come up with. Play with different colors, flowers, and textures of fillers and greenery. You will end up with a beautiful centerpiece that lasts forever! The one I made was a gift for a friend. I started making sola wood flower centerpieces for my wedding and have been using them in arrangements ever since.


