How Easy is the EasyPress 2: DIY Pillow Design
Since I started blogging about Cricut and their products I have come to find myself asking; how easy are these products and do you really need them? So today I hope to answer both of these questions about the EasyPress 2.

I am relatively new to crafting when it comes to using the Cricut products and so far I must say the Cricut Joy is certainly just that, a joy to work with. I was not intimidated at all, which is saying a lot. Today let’s go ahead and do a little into to the EasyPress 2 and show you my first little DIY using it.

So here we go! I received the EasyPress 2, 9×9, which I must say is the size I find perfect for DIY home decor, tote bags, and shirts. It is not HUGE at all nor is it bulky or hard to use but perfectly manageable.
Note: This post may contain affiliate links, which means if you buy from my link I might make a small commission. This does not affect the price you pay. See the full affiliate disclosure here.

The buttons on the top of the machine are super easy to read and honestly very self explanatory. There are two settings which you change depending upon the media you might be using for that project. One is the temperature setting and the other is the timer.
Combining the speed of a heat press and the convenience of an iron, Cricut EasyPress 2 gives you fast, effortless results that really last, even after repeated washes. Eliminate guesswork with rigorously tested time and temperature settings for every project, apply heat, and when the beep sounds, you’re done!
This EasyPress is SUPER easy to use so that answers my first question. It is easy to use the Cricut site to find the perfect setting for the different products you might be using.

Second question, do you really need this? Honestly, HELL YES! Pardon my French. Being that it is so easy to use your creations can be limitless and I will begin to share amazing DIY tricks for your home.
DIY Pillow Graphic Using The EasyPress 2
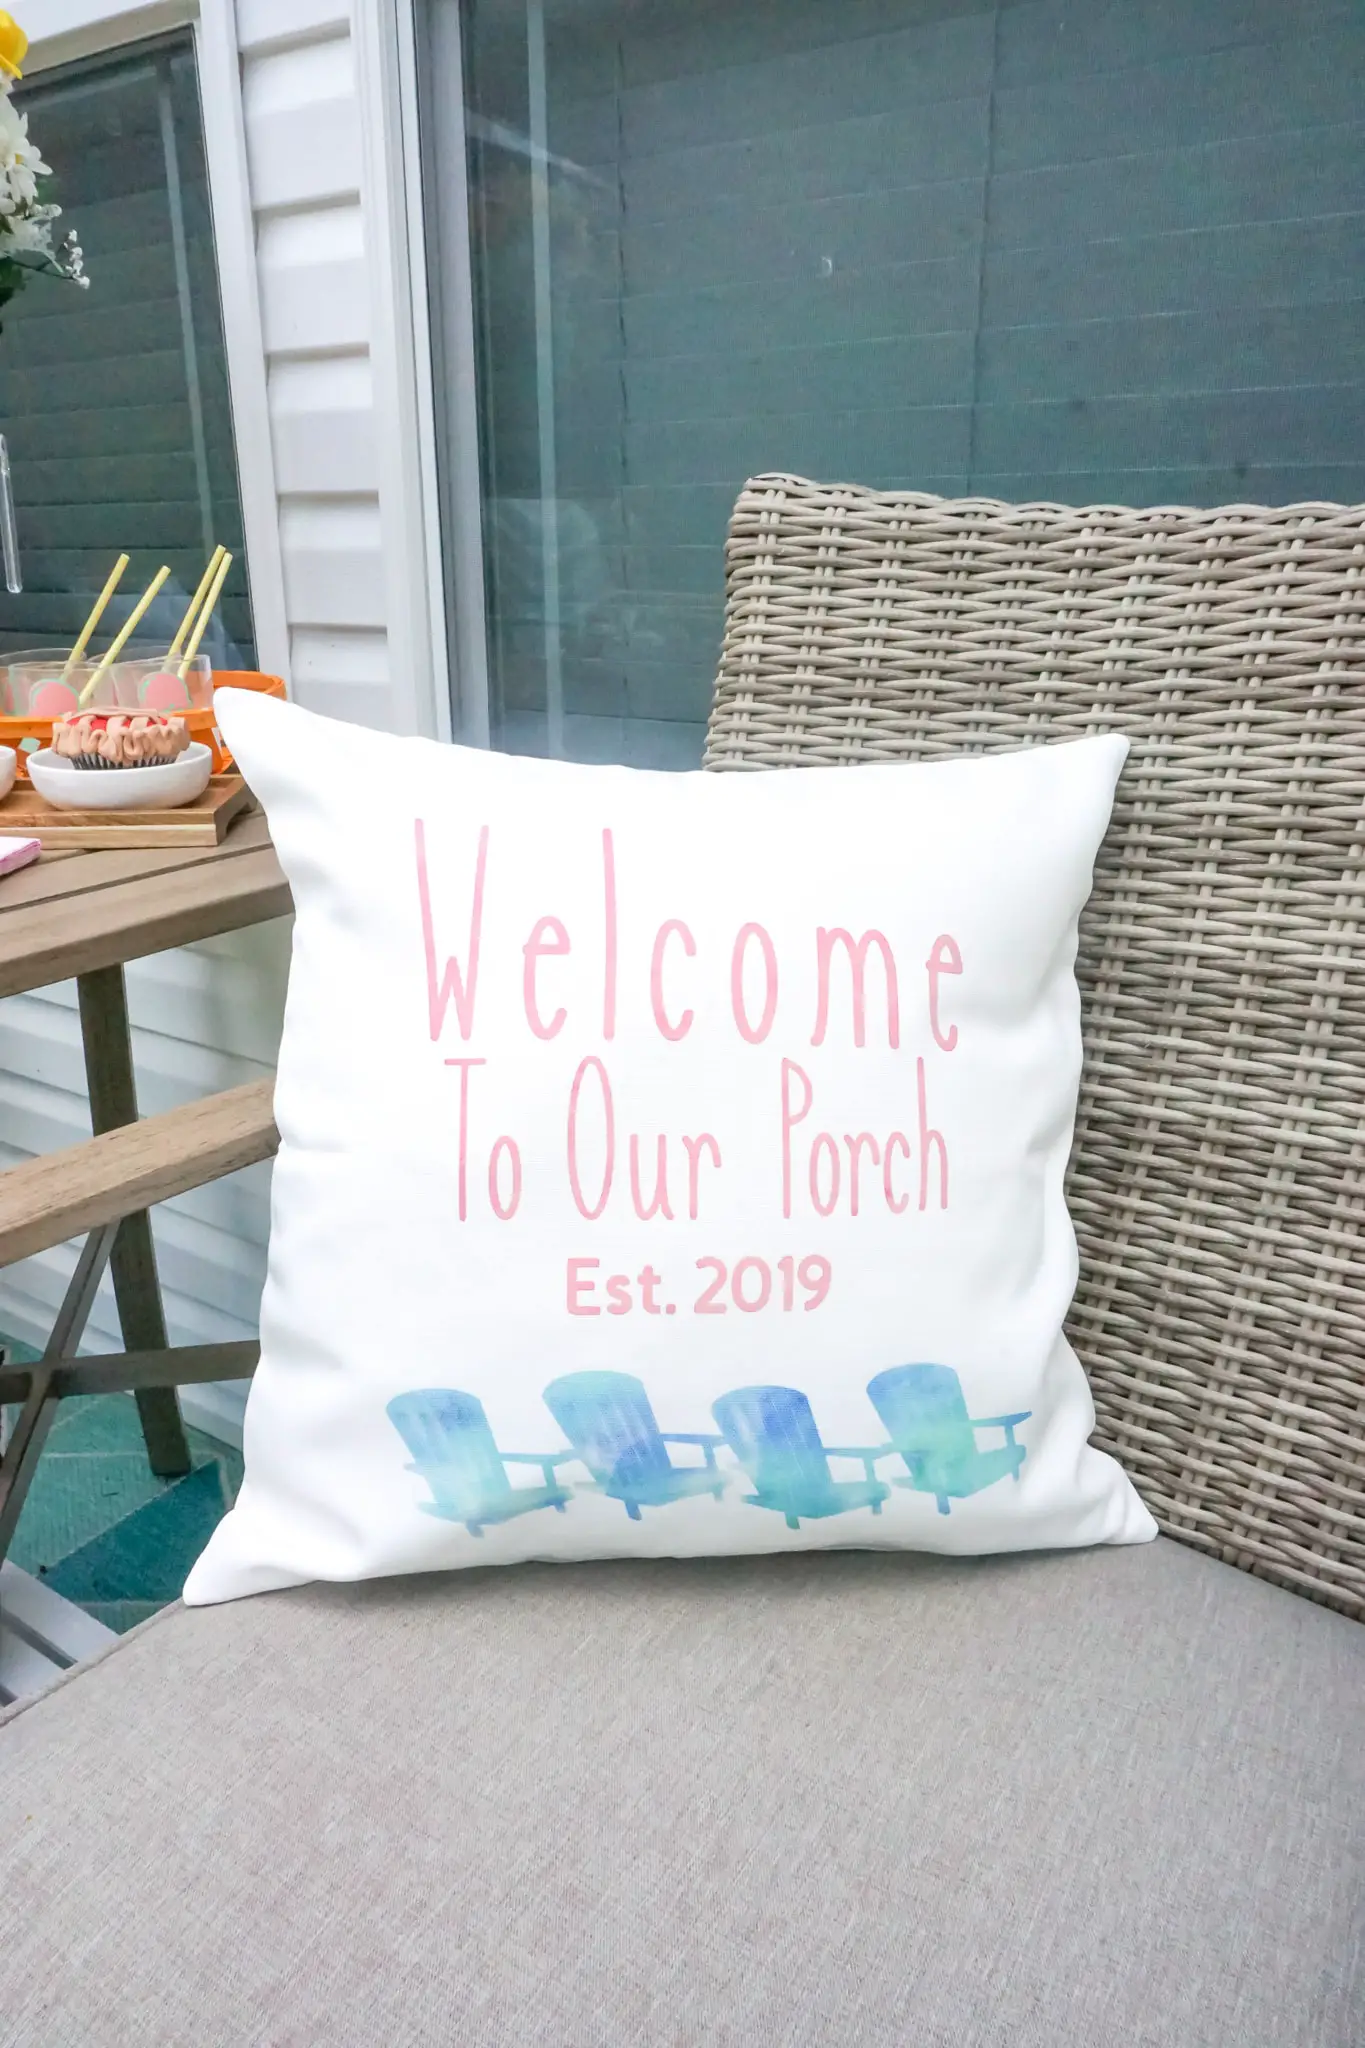
I used a combination of the EasyPress 2 and the Cricut Joy for this little project. One thing that I adore is pillows. I have more throw pillows than one person should own.
Using the combo of Cricut products gives me the freedom to customize my pillows as I see fit.

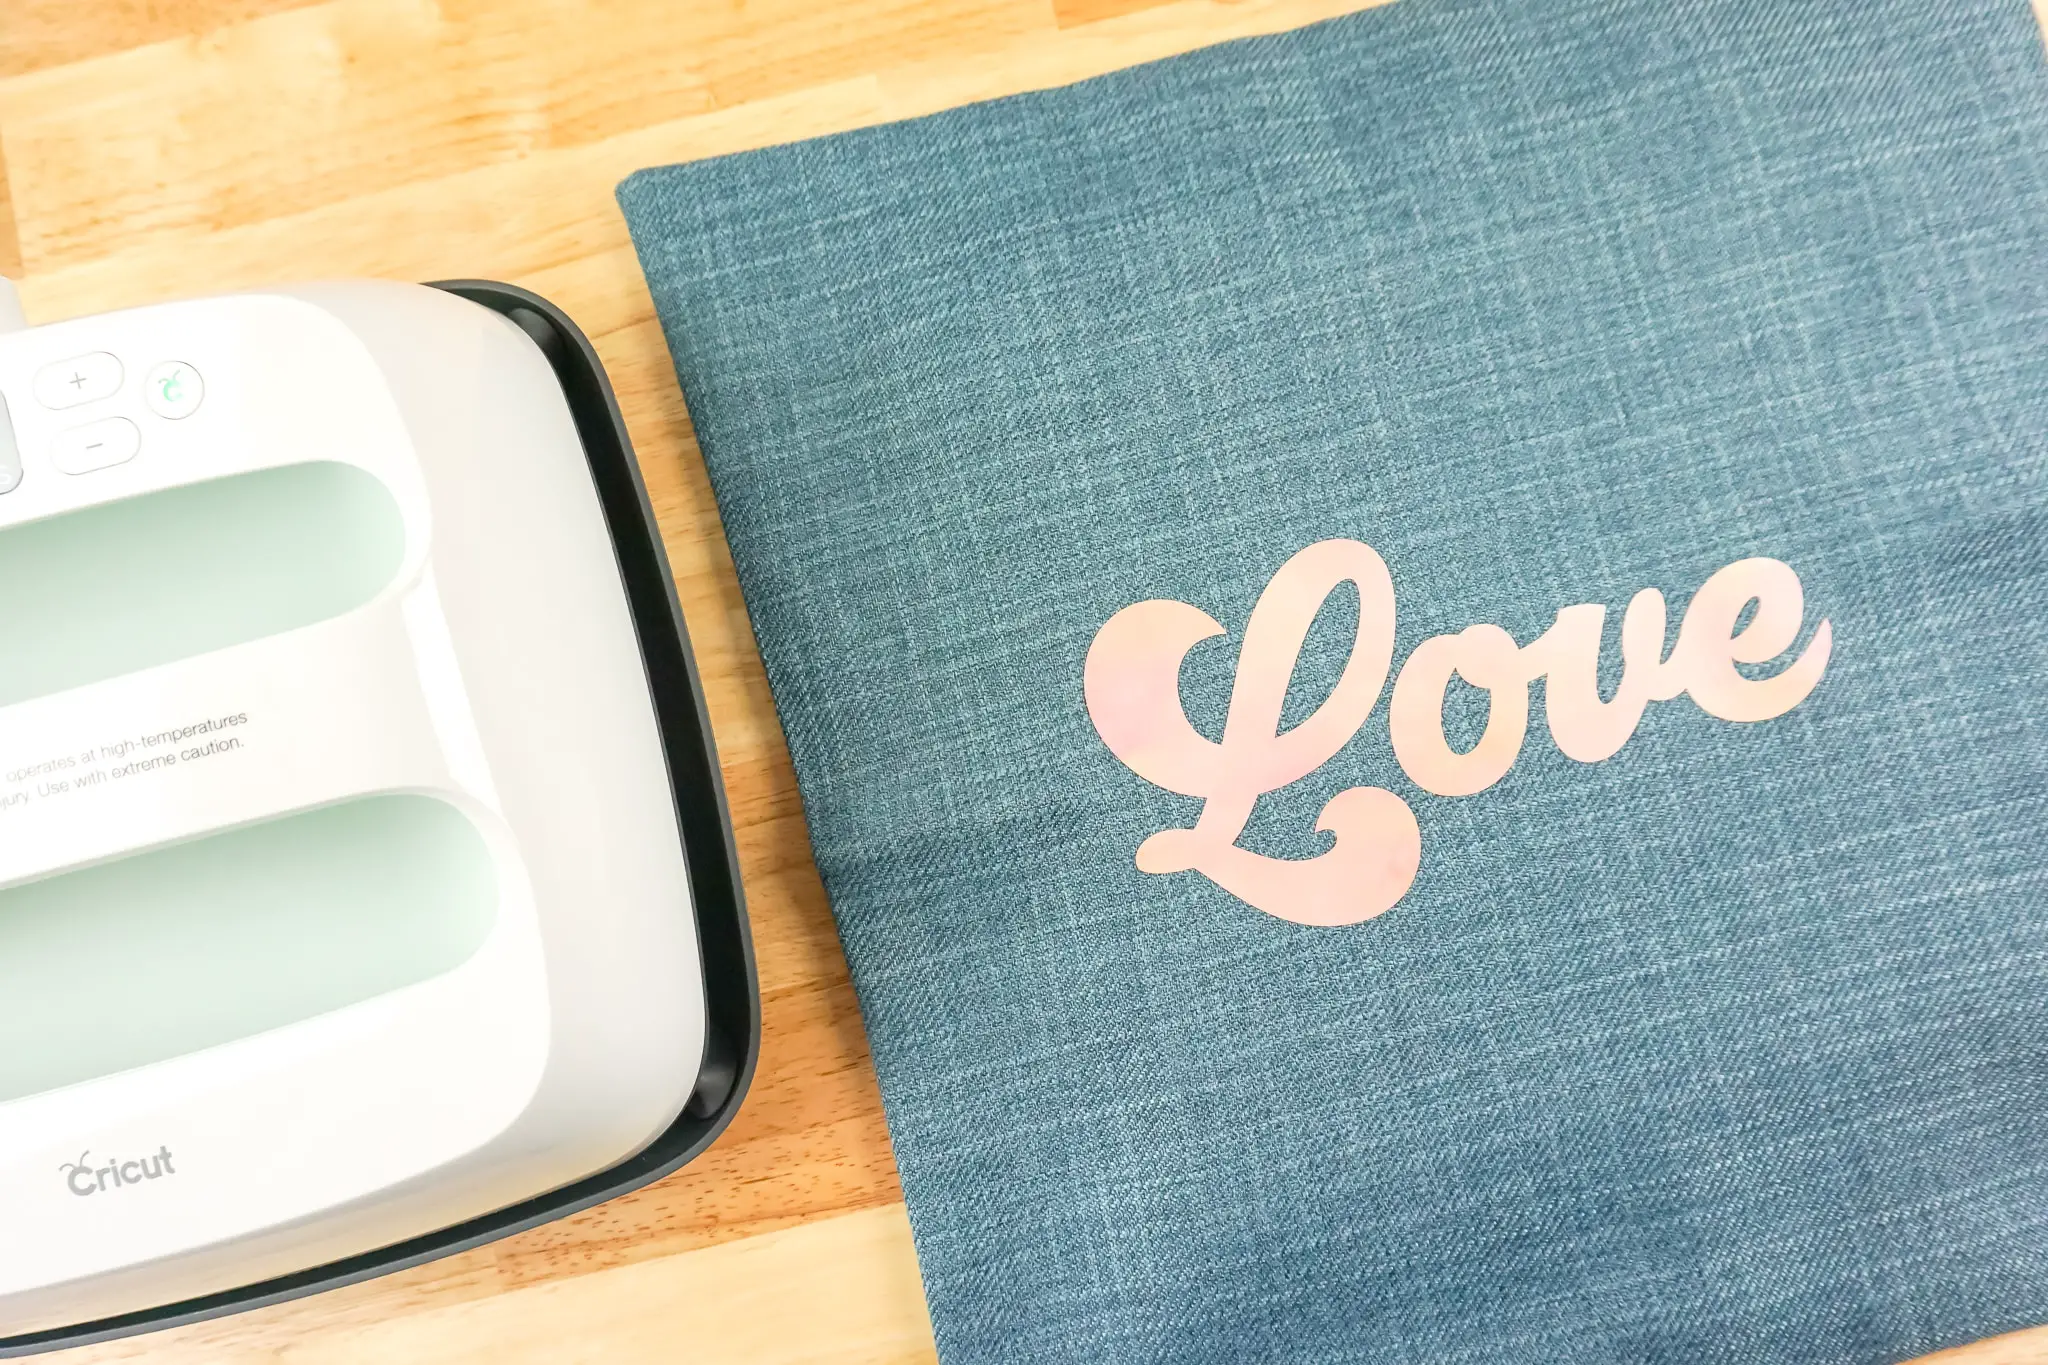
I used the Smart Iron-On for my first project. It is really easy to use and since it is part of the Cricut line of smart products you don’t need a cutting mat.
Using the Cricut Design Space I found the perfect little “love” to put on my pillow. Once the design is found I simply send it to my Cricut
HINT: Make sure to mirror your image so that it comes out correctly and put the shiny side down on the Cricut Joy when printing.


Once everything is printed out how you like it, it is time to grab the EasyPress 2 and your EasyPress Mat. For me, this mat is a MUST! It will help to protect your surface that you are working on as the EasyPress and some materials can get really hot.

I simply set the pillowcase onto the mat and began to press. For this project and the type of cloth used I set the EasyPress to 315 degrees for 30 seconds.

You will apply light pressure. Once the front is done flip your material over and do the back.

And that is it! Once finished pull the clear protective paper and you have your brand new pillow made just for you.


I find that using the EasyPress 2 is so easy and I can’t wait to share with you some unique ideas that I have coming. This is just a little intro to how easy the EasyPress 2 really is. Heck, if I can do it, you can too!! Make sure to head over to the Cricut Corner for more posts.
Also make sure to check out our Welcome Summer Sign for your deck using the Cricut Joy.